Are you tired of watching your beautiful yellow pear tomatoes spoil before you can enjoy them all? Fear not, for there's a wonderful solution that not only extends their shelf - life but also adds a burst of flavor: pickling them with sweet onion, garlic, and fresh rosemary. And if you don't have yellow pear tomatoes on hand, cherry tomatoes are a perfect substitute!
Pickling is an age - old preservation method that has been used for centuries to keep food fresh and delicious. When it comes to tomatoes, pickling not only helps them last longer but also transforms their taste into something truly special. Let's dive into the process of creating these mouth - watering pickled tomatoes.
Ingredients You'll Need
- 2 pounds of yellow pear tomatoes or cherry tomatoes
- 1 large sweet onion, thinly sliced
- 4 cloves of garlic, minced
- 2 sprigs of fresh rosemary
- 1 cup of white vinegar
- 1 cup of water
- 1/4 cup of granulated sugar
- 1 tablespoon of salt
- 1/2 teaspoon of black peppercorns
- 1/2 teaspoon of mustard seeds
Step - by - Step Guide
Step 1: Prepare the Tomatoes
Start by washing the tomatoes thoroughly under running water. If you're using yellow pear tomatoes, leave them whole. For cherry tomatoes, you can either leave them whole or cut them in half, depending on your preference. Set them aside.
Step 2: Prepare the Pickling Liquid
In a medium - sized saucepan, combine the white vinegar, water, granulated sugar, salt, black peppercorns, and mustard seeds. Bring the mixture to a boil over medium - high heat, stirring constantly until the sugar and salt are completely dissolved. Once it boils, reduce the heat and let it simmer for about 5 minutes to allow the flavors to meld together.
Step 3: Assemble the Jars
While the pickling liquid is simmering, sterilize your canning jars and lids. You can do this by boiling them in a large pot of water for about 10 minutes. Remove the jars from the water and place them on a clean towel. Add a few slices of the sweet onion, some minced garlic, and a sprig of fresh rosemary to the bottom of each jar. Then, pack the tomatoes tightly into the jars, leaving about 1/2 inch of headspace at the top.
Step 4: Pour in the Pickling Liquid
Carefully ladle the hot pickling liquid over the tomatoes in the jars, making sure to cover them completely. Use a clean utensil to remove any air bubbles by gently tapping the jars on the counter. Wipe the rims of the jars clean with a damp cloth to ensure a good seal.
Step 5: Seal and Process the Jars
Place the lids on the jars and screw on the bands until they are fingertip - tight. Lower the jars into a boiling water bath, making sure they are completely submerged. Process the jars for about 10 - 15 minutes, depending on your altitude. Once the processing time is up, remove the jars from the water bath and let them cool on a towel. As they cool, you should hear the satisfying 'pop' sound, indicating that the jars are properly sealed.
Storing and Enjoying Your Pickled Tomatoes
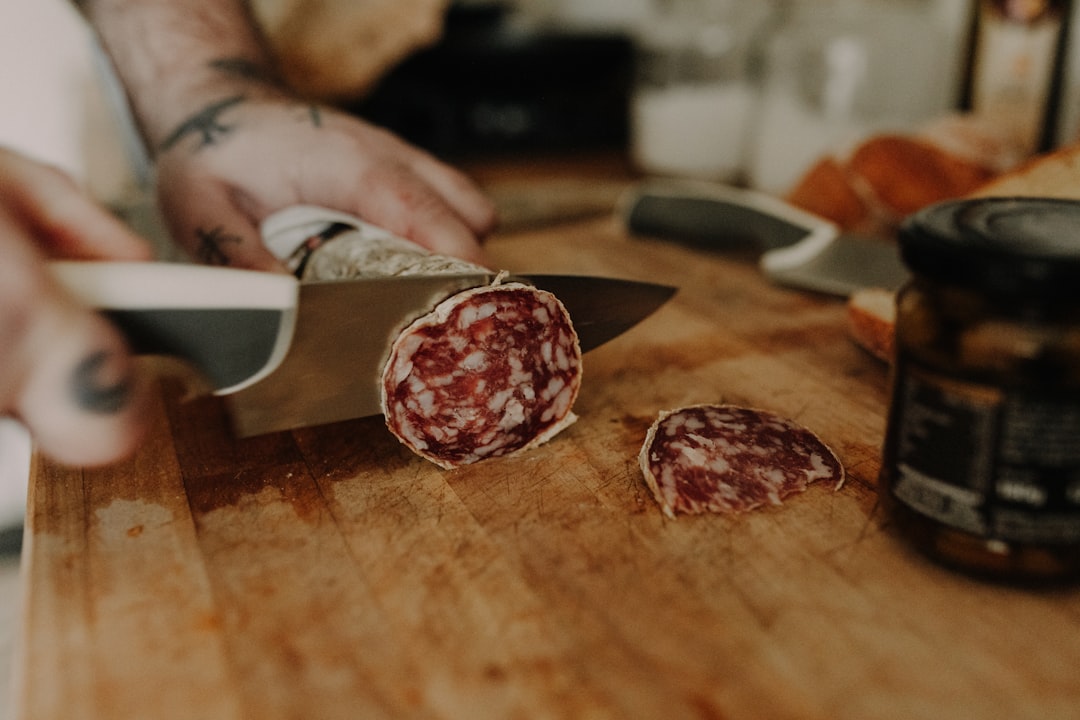
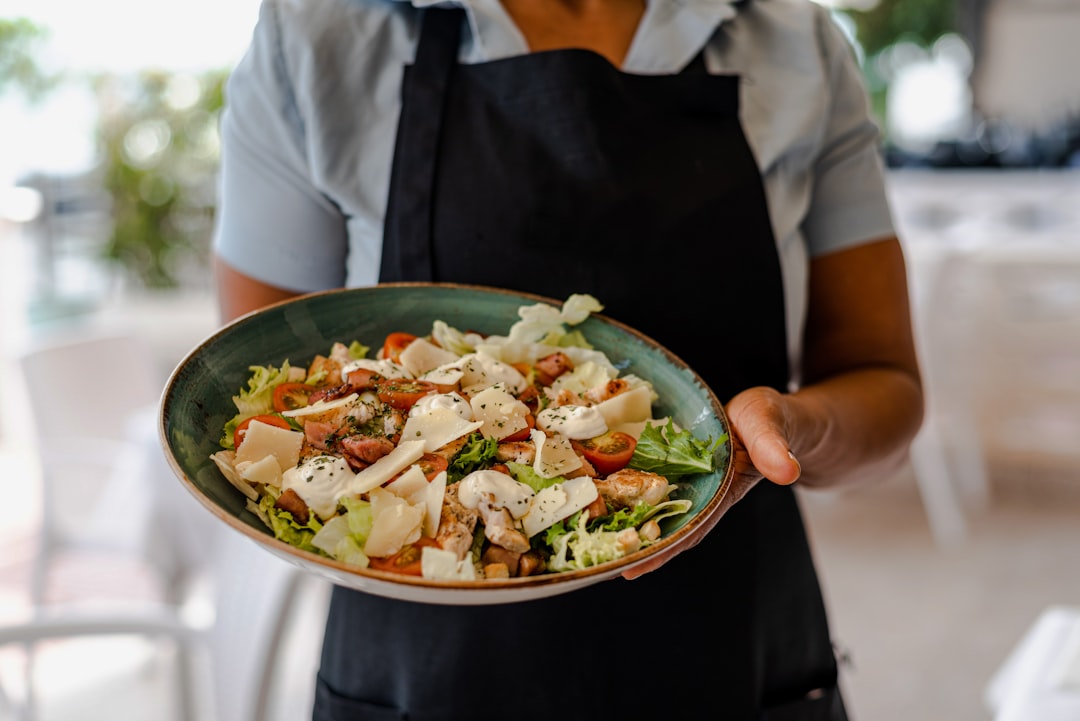
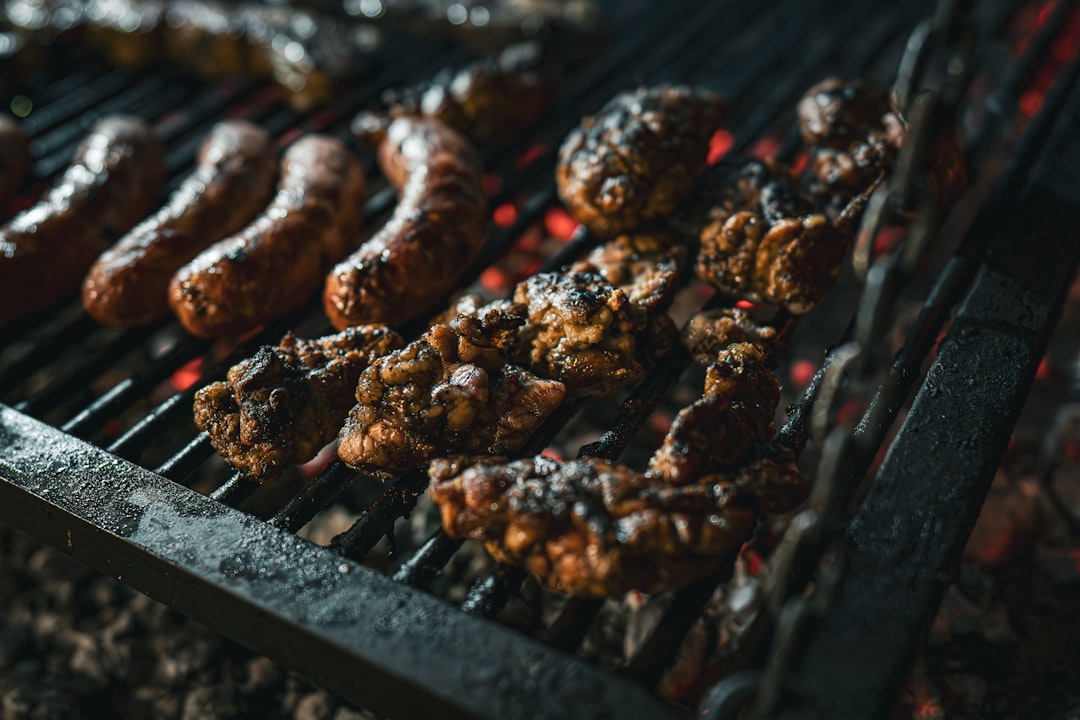
Store the sealed jars in a cool, dark place for at least 2 weeks to allow the flavors to develop fully. After that, you can enjoy your pickled tomatoes in a variety of ways. They make a great addition to salads, sandwiches, or charcuterie boards. You can also use them as a topping for pizzas or as a side dish for grilled meats.
So, the next time you have an abundance of yellow pear or cherry tomatoes, don't let them go to waste. Try this pickling recipe, and you'll have a delicious and long - lasting treat that you can enjoy all year round.